Starting your baby on solid foods is an exciting milestone in their development journey. This comprehensive guide covers everything you need to know about infant puree recipes – from essential safety basics to creative combinations that will nurture your little one’s developing palate and provide optimal nutrition during this crucial growth stage.
Table of Contents
Getting Started with Infant Purees
Safety First: Hygiene and Choking Prevention
Before diving into recipes, establishing proper food safety practices is essential when preparing infant purees:
- Always wash hands thoroughly before handling baby food ingredients
- Clean all utensils, cutting boards, and preparation surfaces with hot, soapy water
- Cook foods to appropriate temperatures to eliminate harmful bacteria
- Avoid honey completely for babies under 12 months (risk of botulism)
- Inspect all fruits and vegetables for soft spots or mold
- Remove pits, seeds, and tough skins that could pose choking hazards
Essential Equipment for Homemade Baby Food
Creating nutritious infant purees doesn’t require expensive gadgets, but these tools will make the process significantly easier:
| Essential Tools | Optional but Helpful |
|---|---|
| Food processor or blender | Baby food maker (all-in-one steamer/blender) |
| Steamer basket | Immersion blender |
| Ice cube trays with lids | Silicone freezer trays |
| Storage containers | Food mill |
| Mesh strainer | Baby food grinder |
| Vegetable peeler | Reusable food pouches |
Understanding Puree Stages
Infant purees typically progress through three stages as your baby develops:
Stage 1 (4-6 months): Single-ingredient, smooth purees with thin consistency. Perfect for babies just starting solids.
Stage 2 (6-8 months): Combined ingredients with slightly thicker texture. Introduces flavor combinations and more complex nutrition.
Stage 3 (9-12 months): Chunky purees and soft mashed foods that help develop chewing skills before transitioning to finger foods.
Pediatrician’s Note: While this guide provides general recommendations, always consult your pediatrician before starting solids, typically around 4-6 months when your baby shows readiness signs like sitting with support and showing interest in food.
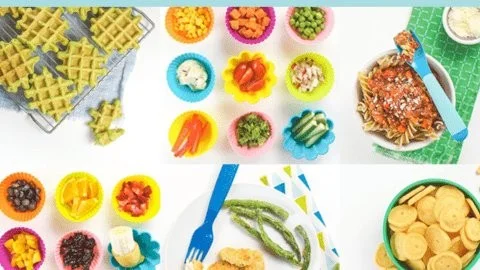
First Tastes: Stage 1 Single-Ingredient Purees
Starting with simple, single-ingredient purees helps identify potential allergies and allows babies to experience distinct flavors. Here are nutritious first foods with their key benefits:
Vegetable First Foods
- Nutrients: Beta-carotene, vitamin C, potassium, fiber
- Preparation: Steam or bake until soft, peel, puree with filtered water until smooth
- Storage: Refrigerate up to 3 days or freeze for 3 months
- Tip: Sweet potatoes’ natural sweetness makes them appealing to most babies
Carrot Puree
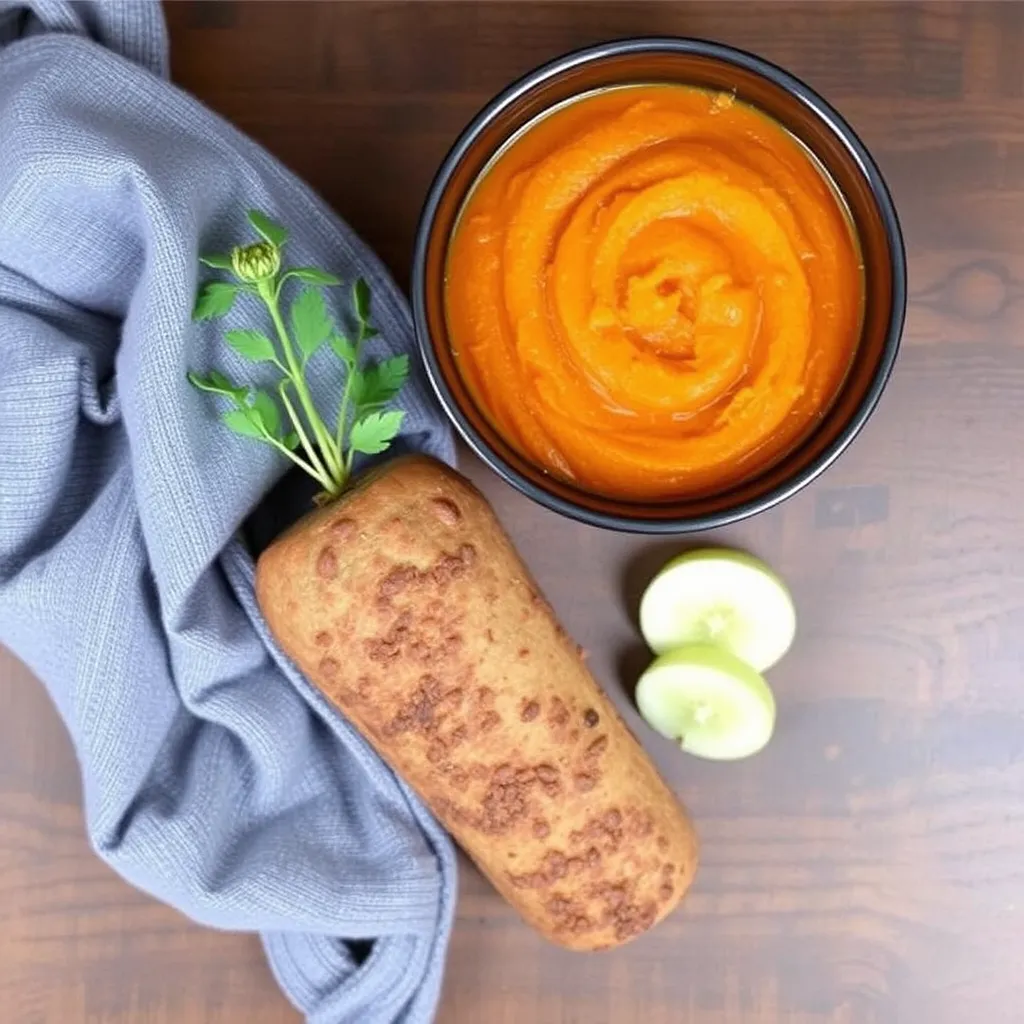
- Nutrients: Beta-carotene, vitamin K, potassium
- Preparation: Steam until very tender, puree until completely smooth
- Storage: Refrigerate up to 3 days or freeze for 3 months
- Tip: Always peel carrots for babies to remove any dirt residue
Pea Puree
- Nutrients: Vitamin K, folate, protein, fiber
- Preparation: Steam fresh or frozen peas until tender, puree with water as needed
- Storage: Refrigerate up to 3 days or freeze for 2 months
- Tip: Strain through a fine mesh sieve to remove outer skins for the smoothest texture
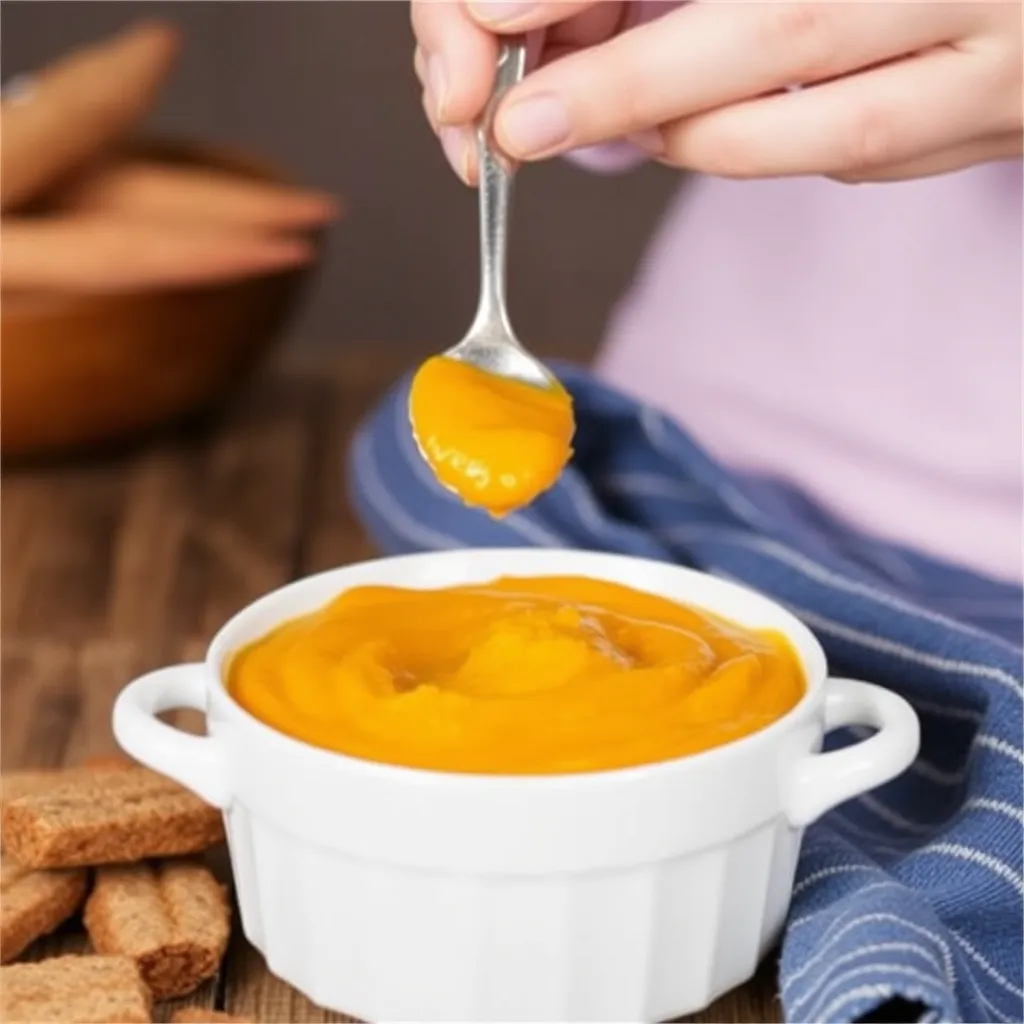
Butternut Squash Puree
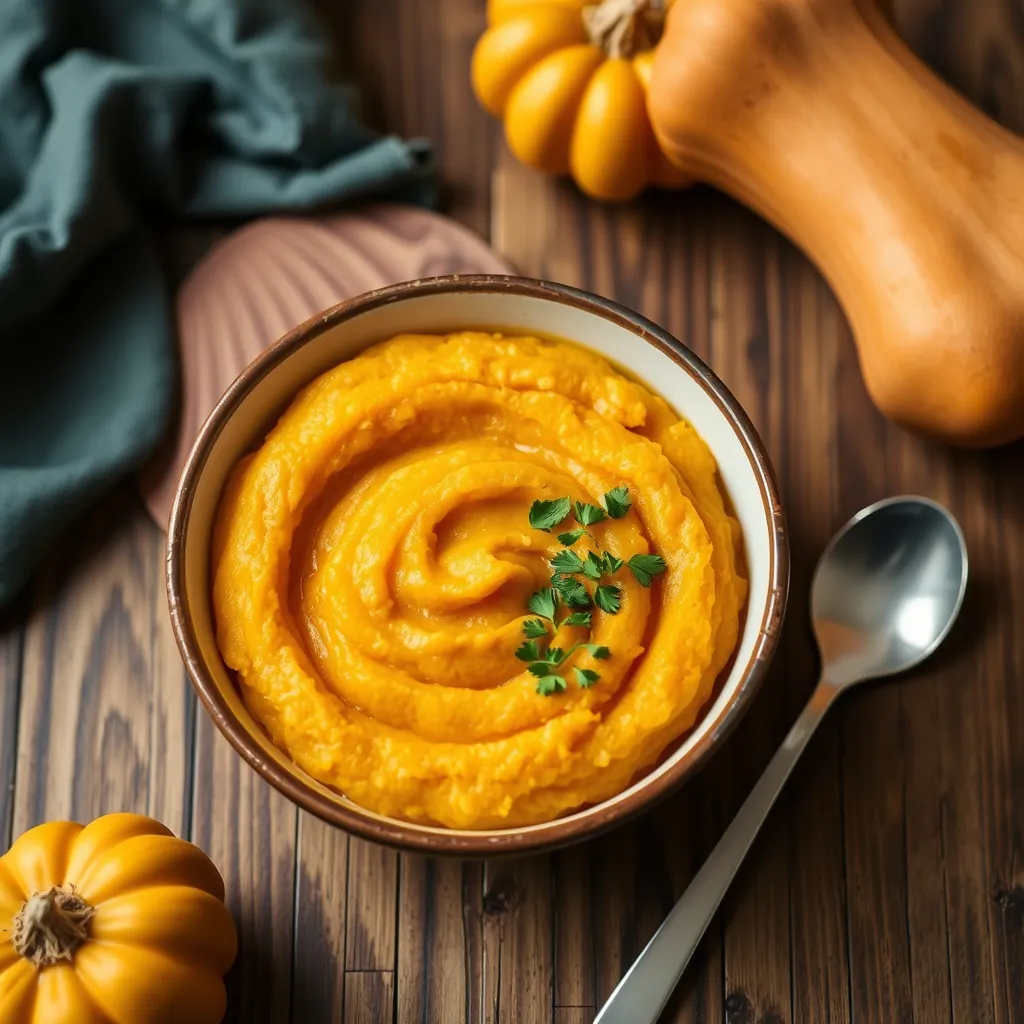
- Nutrients: Vitamin A, vitamin C, potassium, magnesium
- Preparation: Roast or steam until fork-tender, scoop flesh, puree until smooth
- Storage: Refrigerate up to 3 days or freeze for 3 months
- Tip: Roasting brings out natural sweetness babies love
Fruit First Foods
Apple Puree
- Nutrients: Fiber, vitamin C, antioxidants
- Preparation: Peel, core, and dice apples. Steam until very soft, then puree
- Storage: Refrigerate up to 2 days or freeze for 3 months
- Tip: Mixing apple varieties like Gala and Golden Delicious creates complex flavor
Pear Puree
- Nutrients: Fiber, vitamin C, copper
- Preparation: Peel, core, and dice pears. Steam until tender, then puree
- Storage: Refrigerate up to 2 days or freeze for 3 months
- Tip: Naturally sweet and gentle on digestion, perfect for constipation
Banana Puree
- Nutrients: Potassium, vitamin B6, vitamin C, fiber
- Preparation: Mash ripe banana with fork until smooth, no cooking required
- Storage: Refrigerate up to 1 day (discolors quickly), not ideal for freezing
- Tip: Mix with breast milk or formula for familiar flavor during transition
Avocado Puree
- Nutrients: Healthy fats, fiber, folate, potassium
- Preparation: Scoop ripe avocado flesh, mash with fork until smooth
- Storage: Refrigerate up to 1 day with lemon juice to prevent browning
- Tip: Excellent brain-boosting first food with no cooking required
Stage 2 Combinations: Exploring Flavor Pairings
Once your baby has successfully tried individual foods with no reactions, you can begin creating more interesting combinations. These pairings introduce complementary flavors while providing balanced nutrition.
Fruit Combinations
- Apple & Blueberry: Antioxidant powerhouse with natural sweetness
- Pear & Banana: Gentle on digestion with potassium boost
- Mango & Avocado: Tropical creaminess with healthy fats
- Peach & Raspberry: Vitamin-rich with complex flavor profile
Vegetable Combinations
- Sweet Potato & Carrot: Beta-carotene blend with balanced sweetness
- Pea & Zucchini: Protein-packed green goodness
- Butternut Squash & Spinach: Vitamin A boost with iron
- Cauliflower & Broccoli: Cruciferous combination rich in vitamins K and C
Fruit & Vegetable Blends
- Apple & Spinach: Iron absorption enhanced by vitamin C
- Banana & Sweet Potato: Energy-boosting carbohydrates with creamy texture
- Pear & Pea: Fiber-rich pairing with natural sweetness
- Mango & Carrot: Tropical twist on a root vegetable classic
Protein Additions
Once your baby reaches 6-8 months, incorporating proteins becomes important:
- Lentil & Sweet Potato: Plant-based protein with fiber
- Chicken & Carrot: Complete protein with beta-carotene
- White Fish & Zucchini: Gentle protein with mild vegetable
- Yogurt & Peach: Probiotics with calcium and natural sweetness
Stage 3 Textures & Finger Foods Introduction
As your baby approaches 9 months, they’re ready to develop chewing skills with more texture and small, soft pieces.
Transitioning to Textured Foods
- Begin with lumpy purees: Partially blend foods or mash with fork
- Move to soft mashes: Think mashed banana, avocado, or sweet potato
- Introduce soft pieces: Small, soft food bits mixed into familiar purees
- Progress to finger foods: Soft, age-appropriate pieces they can grasp
Textured Recipe Ideas
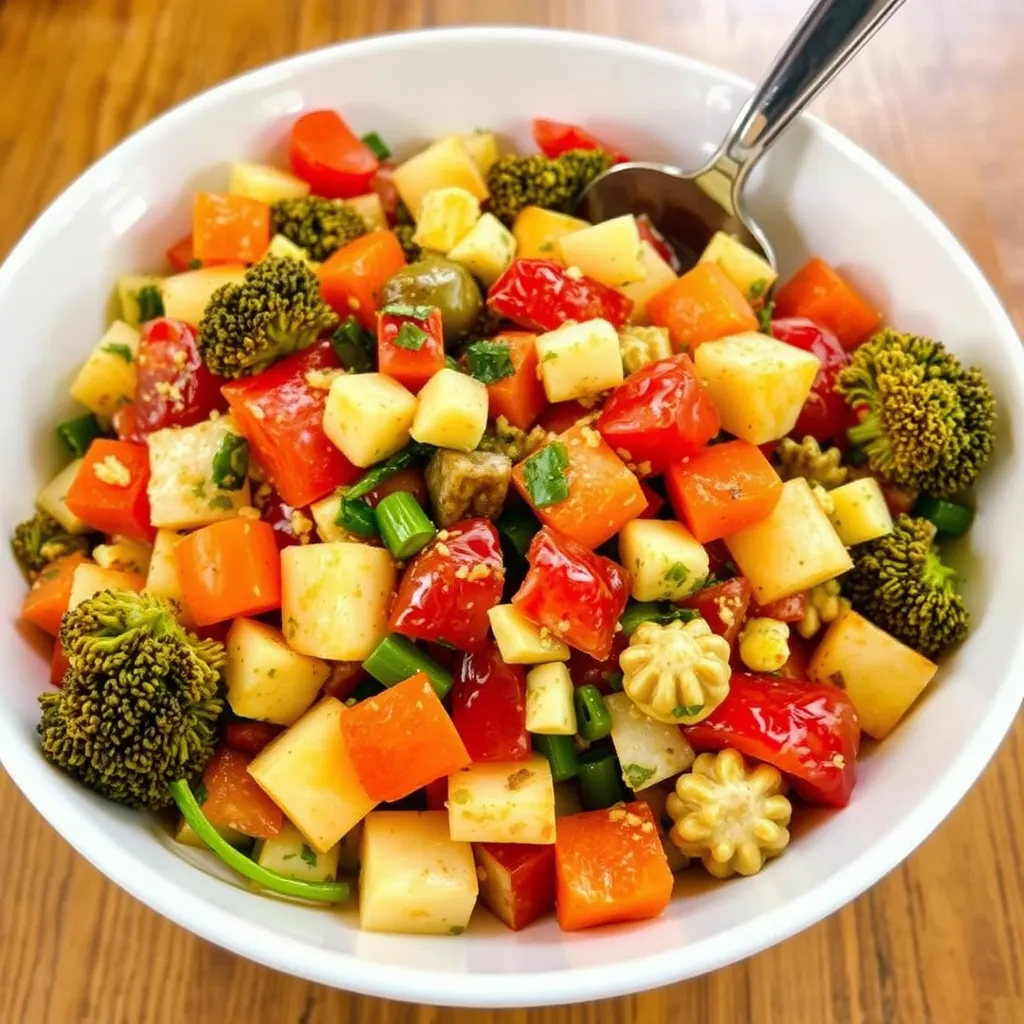
Chunky Vegetable Medley
- Steam small diced carrots, peas, and small pasta until very soft
- Lightly mash, leaving recognizable pieces
- Mix with small amount of smooth vegetable puree as “sauce”
Banana Oatmeal Mash
- Cook infant oatmeal according to package directions
- Mix with mashed banana and small pieces of soft fruit
- Add cinnamon for flavor enhancement (optional)
Lentil & Vegetable Blend
- Cook red lentils until very soft
- Mix with partially mashed sweet potato and finely chopped spinach
- Consistency should be thick but still easily eaten with spoon
Adding Herbs & Spices Safely
Contrary to popular belief, babies don’t need bland food! Introducing herbs and spices early can develop sophisticated palates and provide additional health benefits. Always introduce one at a time and in small amounts.
Baby-Friendly Herbs
- Basil: Pairs well with sweet potato, squash
- Mint: Refreshing with peas, pears
- Parsley: Complements vegetables like carrots
- Cilantro: Perfect with avocado, sweet potato
Gentle Spices for Babies
- Cinnamon: Sweet enhancement for fruits and oatmeal
- Mild curry powder: Tiny pinch for variety in vegetables
- Ginger: Soothes digestion, pairs with carrots, apples
- Cumin: Rich flavor for lentils, beans, squash
Introducing Allergens via Purees
Current pediatric guidelines recommend early introduction of potential allergens (between 4-11 months) to help prevent food allergies. Always consult your pediatrician first, especially with family history of allergies.
Safe Introduction Protocol
- Offer allergen early in the day to monitor reactions
- Start with tiny amount mixed into familiar puree
- Wait 3-5 days before introducing another potential allergen
- Know signs of allergic reaction: hives, facial swelling, vomiting, difficulty breathing
- Have emergency plan in place for severe reactions
Common Allergen Introduction
Peanut Butter: Mix 1/4 teaspoon thinned smooth peanut butter into fruit puree
Egg: Start with well-cooked egg yolk (less allergenic) before introducing whole egg
Fish: Choose mild white fish like cod, pureed very smooth with familiar vegetable
Wheat: Mix infant cereal containing wheat into familiar puree
Storage & Freezing Guide
Proper storage ensures safety and preserves nutrients in homemade baby food.
Refrigerator Storage Guidelines
- Store purees in airtight containers
- Label with contents and date prepared
- Most purees last 48-72 hours refrigerated
- Keep refrigerator temperature at or below 40°F (4°C)
Freezing Methods
- Freeze in ice cube trays (1 oz portions)
- Once frozen, transfer to freezer bags
- Label with contents and date frozen
- Most purees maintain quality for 1-3 months frozen
Thawing Safety
- Thaw overnight in refrigerator (safest method)
- Quick-thaw in bowl of warm water
- Never microwave baby food (creates hot spots)
- Never refreeze previously frozen baby food
Troubleshooting & FAQs
Common Feeding Challenges
Refusing New Foods
- Offer rejected foods alongside favorites
- Try different temperatures (some babies prefer room temperature)
- Model eating and enjoying the food yourself
- Remain patient and continue offering (may take 10-15 attempts)
Texture Aversion
- Progress texture gradually
- Mix smooth with slightly textured at first
- Give baby safe finger foods to explore textures themselves
- Consult pediatrician if severe aversion persists
Constipation
- Increase “P” fruits: prunes, pears, peaches
- Ensure adequate fluid intake
- Add small amount of pureed prunes to other fruits
- Avoid constipating foods like bananas temporarily
Food Throwing
- Use suction bowls and plates
- Offer smaller portions
- Determine if baby is full or just playing
- Remain calm and consistent with boundaries
Remember, each baby develops at their own pace. The journey to solid foods should be enjoyable for both you and your little one. By starting with nutrient-dense purees and gradually introducing textures and flavors, you’re establishing the foundation for healthy eating habits that can last a lifetime.
Conclusion
As we’ve explored throughout this comprehensive guide, introducing your baby to solid foods through purees is a journey filled with discovery, nutrition, and developmental milestones. Creating homemade infant puree recipes isn’t just about providing nourishment—it’s about laying the foundation for a lifetime of healthy eating habits and positive relationships with food.
Remember that every baby is unique. Some may eagerly accept new flavors and textures, while others might need more time and repeated exposures. Patience and persistence are key as you navigate this exciting stage together. Trust your baby’s cues—they’ll let you know when they’re hungry, full, or not quite ready for a particular food.
Making your own infant purees allows you to personally select fresh, high-quality ingredients while avoiding unnecessary additives and preservatives found in some commercial options. It’s also significantly more economical and environmentally friendly than purchasing pre-packaged baby foods.