Watching your little one reach that exciting milestone of starting Baby Finger Foods a mix of joy, excitement, and yes—a healthy dose of anxiety. You’re probably wondering exactly what foods are safe, when to start, and how to navigate this important developmental step.
Finger foods aren’t just convenient; they’re crucial building blocks for your baby’s development. They help develop fine motor skills, encourage self-feeding independence, and introduce your child to diverse tastes and textures that set the foundation for healthy eating habits.
As a pediatric nutritionist with over a decade of experience guiding parents through baby’s first foods, I’ve created this comprehensive guide with safety at the forefront, drawing on the latest evidence-based recommendations and practical experience working with hundreds of families. This article has also been reviewed by Dr. Sarah Johnson, pediatrician specializing in infant nutrition.
Whether you’re following baby-led weaning, a traditional approach, or a combination of both, you’ll find everything you need here: clear readiness signs, safety guidelines, 50+ finger food ideas, troubleshooting tips, and practical advice for this exciting journey.
Table of Contents Baby Finger Foods
When is Your Baby Ready? Beyond the Calendar
While 6 months is often cited as the ideal time to introduce finger foods, your baby’s developmental readiness is far more important than age alone. Look for these key signs that indicate your baby is physically ready for finger foods:
- Sits upright with minimal support: Your baby needs good head and trunk control to eat safely
- Lost the tongue-thrust reflex: When you offer food, your baby no longer automatically pushes it out with their tongue
- Shows interest in food: Reaches for your food, watches intently while you eat, or opens mouth when food approaches
- Developing pincer grasp: Beginning to use thumb and forefinger to pick up small objects (though early finger foods should be larger)
- Can move food to the back of their mouth: Able to transfer food around the mouth rather than just sucking on it
Remember that most babies develop these skills around 6-9 months, but there’s significant individual variation. Trust your baby’s cues rather than rushing based solely on calendar age.
The GOLD Standard Safety Section
Gagging vs. Choking: Know the Difference
Gagging is a normal protective reflex that helps babies learn to manage food safely:
- Forward tongue thrusting motion
- Coughing or sputtering sounds
- Red face
- Watery eyes
- Baby remains in control
Choking is a medical emergency requiring immediate action:
- Silent or very quiet struggling
- Inability to cough
- Blue/gray face or lips
- Look of panic
- Inability to breathe
When babies gag (which is common and normal), stay calm and allow them to work through it. Your anxiety can heighten their stress response. However, be prepared to act if true choking occurs.
Food Size & Shape: The Safety Rules
The ideal finger food follows these guidelines:
- Size: Approximately the size of your pinky finger (about 2-3 inches long)
- Shape: Stick-shaped or large enough that baby can’t fit the entire piece in their mouth
- Texture: Soft enough to squish between your thumb and finger (or against the roof of your mouth)
| Food Type | Safe Preparation | Unsafe Preparation |
|---|---|---|
| Grapes/Cherry Tomatoes | Quarter lengthwise | Whole or halved horizontally |
| Blueberries | Smashed or halved for beginners | Whole for babies under 9 months |
| Meat | Shredded or long, thin strips | Chunks or cubes |
| Cheese | Thin strips or grated | Small cubes |
Texture Matters
Progress through these texture stages as your baby develops:
- Beginner (6-8 months): Very soft, easily mashed between fingers
- Intermediate (8-10 months): Soft-cooked but holding shape
- Advanced (10+ months): Various textures as chewing skills improve
Foods to Avoid or Modify
These foods pose choking hazards and should be avoided until at least age 4:
- Whole nuts and seeds
- Popcorn
- Hard candy
- Whole hot dogs
- Raw hard vegetables
- Sticky nut butters (unless thinly spread)
- Hard or chewy meat
- Large globs of cheese
- Dried fruit (unless rehydrated and cut)
- Chewing gum
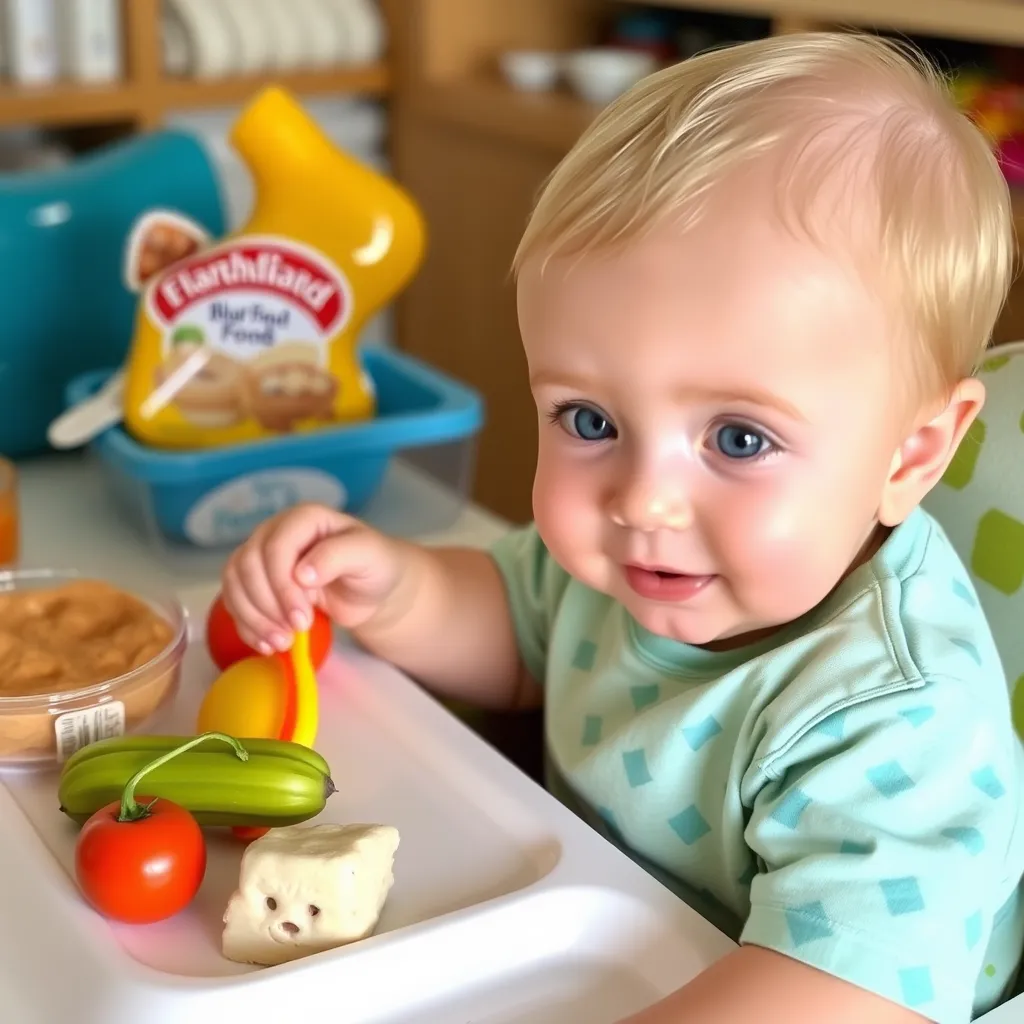
Safe Eating Environment
- Always supervise: Never leave your baby alone while eating
- Proper positioning: Baby should be sitting fully upright, never reclined
- Dedicated eating space: Use a high chair with good support
- Focused mealtimes: Minimize distractions
- Be prepared: Take an infant CPR course before starting solids
“The most important safety measure for introducing finger foods is constant, attentive supervision. Even ‘safe’ foods can pose risks if a baby is left unattended.” – American Academy of Pediatrics
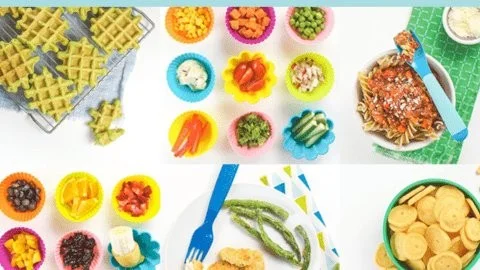
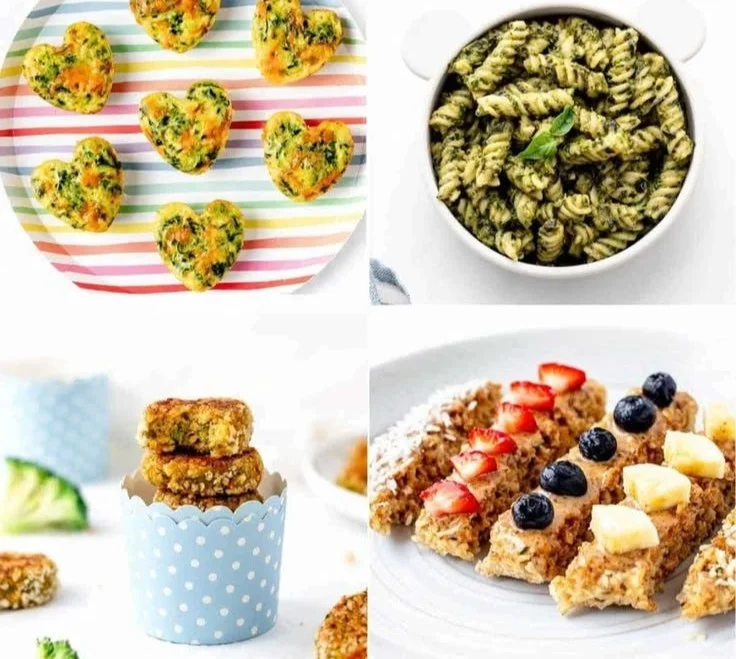
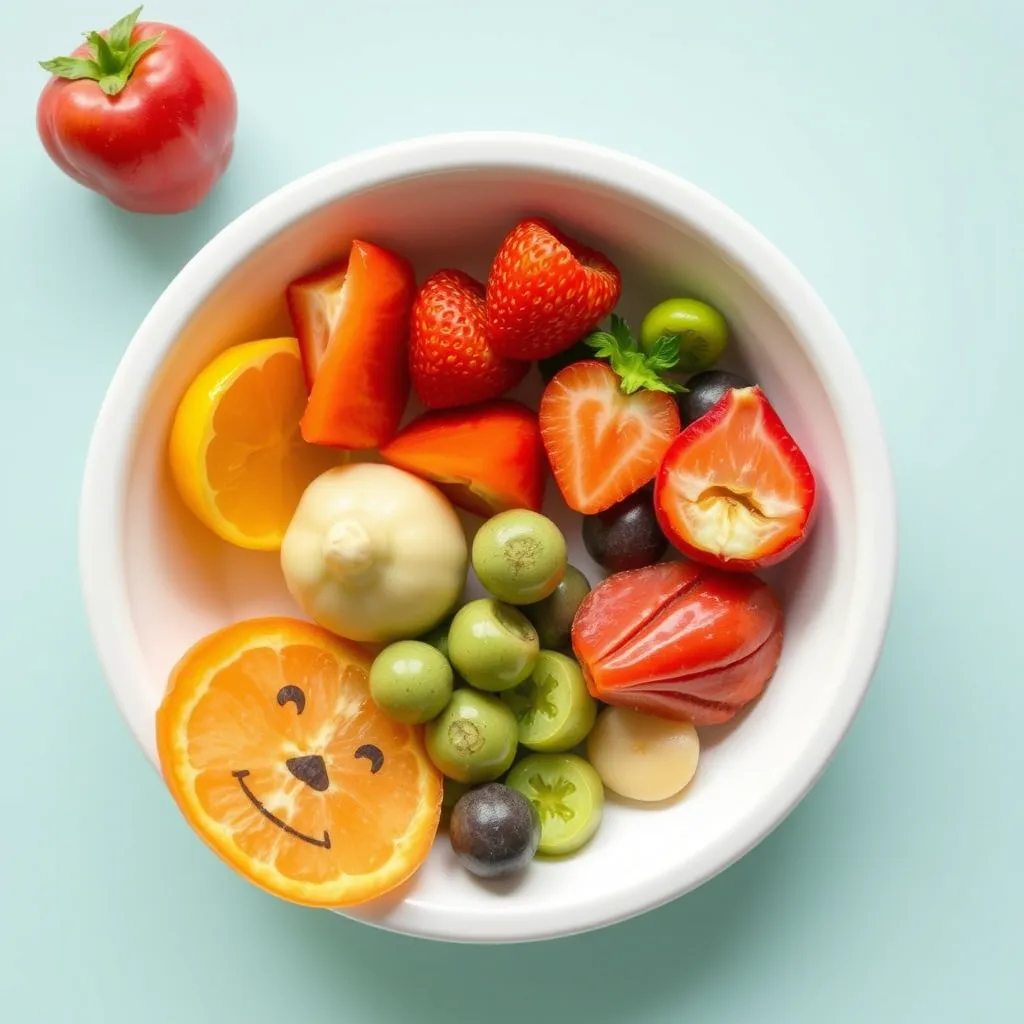
Best First Finger Foods
Fruits
- Avocado: Rich in healthy fats. Preparation: Cut ripe avocado into thick finger-length strips.
- Banana: Great source of potassium. Preparation: Leave about 2 inches of peel on as a handle, exposing part of the banana for baby to eat.
- Ripe Pear: Contains fiber and vitamin C. Preparation: Peel and cut into finger-sized wedges.
- Mango: High in vitamins A and C. Preparation: Cut ripe mango into strips with some flesh extending beyond baby’s grip.
- Watermelon: Hydrating with lycopene. Preparation: Remove seeds and rind, cut into finger-length strips.
Vegetables
- Sweet Potato: Rich in beta-carotene. Preparation: Steam or roast until very soft, cut into thick wedges or strips.
- Broccoli: Full of vitamins C and K. Preparation: Steam florets until very soft with stem attached as a handle.
- Carrot: Good source of vitamin A. Preparation: Steam until very soft, cut into thick sticks.
- Zucchini: Contains folate and potassium. Preparation: Steam or roast until soft but still holding shape, cut into finger-length spears.
- Bell Pepper: High in vitamin C. Preparation: Roast until soft, remove skin and seeds, cut into strips.
Proteins
- Tofu: Excellent plant protein. Preparation: Firm tofu cut into thick strips.
- Chicken: Complete protein with iron. Preparation: Poach until very tender, shred or cut into strips.
- Salmon: Rich in omega-3 fatty acids. Preparation: Bake until flaky, remove bones carefully, offer strips.
- Eggs: High-quality protein. Preparation: Hard-boiled and cut into quarters, or make egg fingers (omelette cut into strips).
- Lentils: Plant protein and iron. Preparation: Cook until very soft, form into patties or fingers.
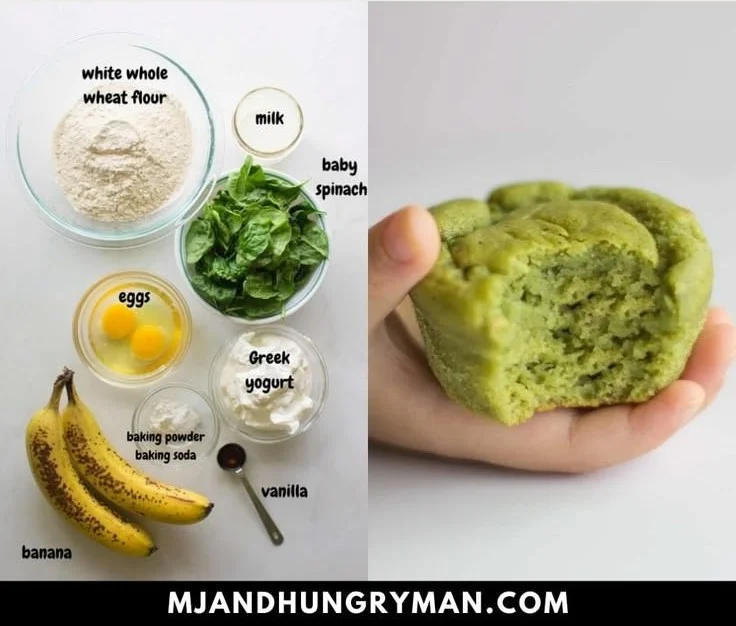
Grains
- Toast: Easy introduction to grains. Preparation: Lightly toast bread, cut into strips.
- Pancakes: Versatile base. Preparation: Make thin pancakes with minimal sugar, cut into strips.
- Oatmeal: Fiber-rich grain. Preparation: Cook until thick, cool slightly, and offer as finger-sized portions.
- Pasta: Fun, graspable option. Preparation: Cook well-past al dente, offer large shapes like penne or rigatoni.
- Rice cakes: Simple grain option. Preparation: Choose plain, thin varieties that dissolve easily.
Introducing Common Allergens
Current guidelines recommend early introduction of allergens (around 6 months) to potentially reduce allergy risk. Always introduce one allergen at a time and watch for reactions:
- Eggs: Offer well-cooked egg strips (thin omelette)
- Peanuts: Thin layer of smooth peanut butter on toast strips
- Tree nuts: Finely ground nuts mixed into pancakes or mashed into banana
- Fish: Well-cooked, boneless strips of mild fish
- Wheat: Toast fingers or pasta
- Soy: Soft tofu strips
Consult your pediatrician before introducing allergens if your baby has severe eczema or existing food allergies.
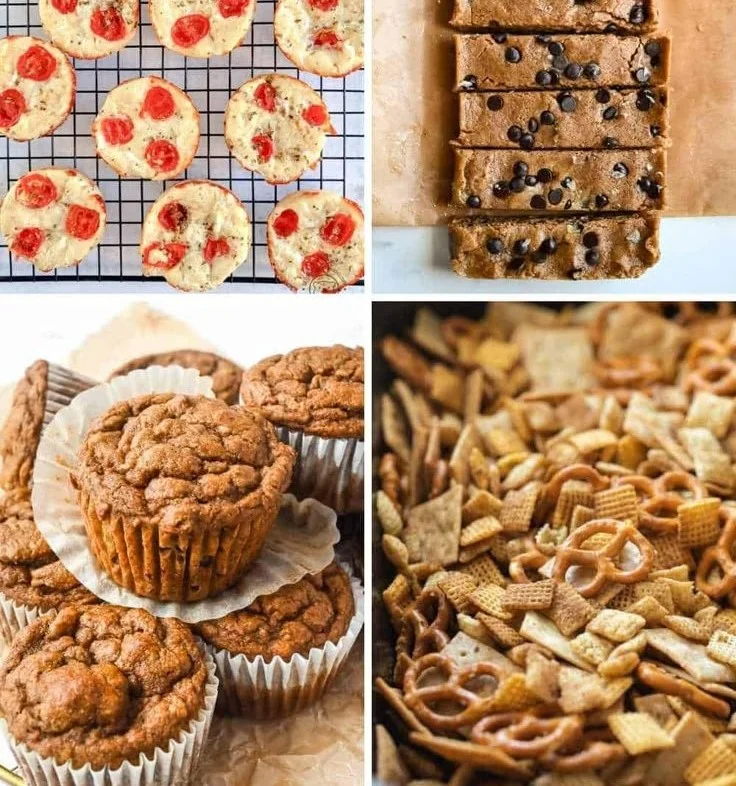
Finger Food Ideas by Age/Stage
6-8 Months (Beginner Stage)
- Texture focus: Very soft, easily squishable
- Size: Larger pieces for palmer grasp (whole hand)
- Best options: Steamed vegetable spears, ripe fruit strips, avocado wedges, soft tofu strips
- Sample meal: Steamed sweet potato wedge + avocado strip + soft tofu strip
9-12 Months (Intermediate Stage)
- Texture focus: Soft-cooked but holding shape
- Size: Finger-length pieces, plus some smaller pieces as pincer grasp develops
- Best options: Soft meatballs, pasta pieces, soft fruit chunks, cheese strips
- Sample meal: Small pasta shells + shredded chicken + steamed broccoli floret “trees”
12+ Months (Advanced Stage)
- Texture focus: Various textures as chewing skills improve
- Size: Gradually smaller pieces as pincer grasp refines
- Best options: Wider variety including softer berries, small pasta, rice, quartered grapes
- Sample meal: Whole grain pasta pieces + small meatball pieces + quartered cherry tomatoes
Integrating Finger Foods: Approaches That Work
Baby-Led Weaning (BLW)
- Core concept: Skip purees entirely, let baby self-feed from the beginning
- Finger food approach: All meals are finger foods baby can self-feed
- Typical progression: Larger finger-sized pieces to start, gradually incorporating more textures and smaller pieces
Traditional Approach
- Core concept: Start with smooth purees, gradually introducing textures
- Finger food approach: Introduce finger foods alongside purees around 8-9 months
- Typical progression: Purees → mashed foods → soft finger foods → varied textures
Combination Approach
- Core concept: Uses elements of both methods based on baby’s needs
- Finger food approach: Introduce some finger foods early while also offering purees
- Typical progression: Simple finger foods and purees simultaneously, with increasing variety and texture
There’s no “perfect” approach—follow your baby’s cues and do what works for your family.
Troubleshooting & FAQs
What if my baby doesn’t seem interested?
- Continue offering without pressure
- Model eating enjoyment yourself
- Try different temperatures (some babies prefer room temperature foods)
- Ensure proper timing (not too tired, not too hungry)
How much should my baby eat?
- Let baby lead—they’ll eat what they need
- Look for signs of fullness (turning away, playing with food, closing mouth)
- Remember milk feeds remain primary nutrition in the first year
Help! My baby just plays with the food.
- This is normal and important exploration
- Learning happens through play and sensory experience
- Messy play with food builds comfort and eventual acceptance
- Focus on exposure rather than consumption initially
Dealing with messy eating
- Use a large splash mat under the high chair
- Consider a full-coverage bib with sleeves
- Keep cleanup supplies handy
- Embrace the mess as part of learning
- Save messier foods for bath nights!
How do I balance finger foods with purees/milk feeds?
- Milk remains main nutrition source until 12 months
- Offer solids 1-2 hours after milk feeds initially
- Gradually work toward a schedule of 3 meals + snacks + milk feeds
Essential Gear for Finger Food Success
- High chair: Look for easy-to-clean surface and good support
- Splash mat: Washable mat to protect floors
- Full-coverage bibs: Sleeved bibs with catch pockets
- Suction plates/bowls: Reduce tipping and throwing
- Safe open cups: Introducing early builds skills
- Cleaning supplies: Baby-safe surface wipes for quick cleanups
Conclusion
Introducing finger foods is an exciting milestone that builds the foundation for your baby’s lifelong relationship with food. Remember these key takeaways:
- Follow your baby’s developmental cues rather than strict calendar dates
- Prioritize safety through proper food preparation and constant supervision
- Offer a wide variety of nutritious options to develop diverse tastes
- Be patient—learning to self-feed is a skill that takes time and practice
- Embrace the mess as part of the learning process
Trust your instincts and your baby’s natural ability to explore foods at their own pace. With the right preparation and attitude, finger foods can transform mealtimes into enjoyable learning experiences that nurture both body and development.
What finger food will you try first with your little one?