
Imagine this: it’s one of those rainy afternoons, the kind where your little one seems to have an endless supply of energy but you’re fresh out of fun ideas to keep them engaged. It’s completely normal to hit the creative wall sometimes. Now, you might be wondering what you can whip up in a pinch that’s both fun and easy. Well, I have just the idea for you!
Let’s explore the delightful world of tie dye—but here’s the twist. Instead of using the traditional method that can be messy and complicated, we’re going to dive into a simple and safe approach using baby wipes. Yes, you read that right! With a few basic supplies, we can create some beautiful tie-dye creations that will leave your toddler thrilled and you feeling like the ultimate parenting hero.
What You Need for Your Tie Dye Adventure
Before we get into the crafting, let’s gather our materials. I love how simple this is! You don’t need to head to an art supply store. Just look around your home. Here’s the short list:
- Baby wipes: These serve as our canvas. They’re absorbent and easy to work with.
- Washable fabric markers: Non-toxic and perfect if you’re working with little ones who tend to nibble on everything!
- Rubber bands: These will help create those beautiful tie-dye patterns.
- Spray bottles with water: This is for activating the colors.
- Plastic table cover or old newspapers: To protect your work surface. Let’s be honest, you don’t want a vibrant splatter of color on your dining table!
The beauty of this project is that you likely have most of these items already at home.
Crafting the Gorgeous Bunting
Now that we’ve gathered everything we need, let’s kick things off with our bunting! This colorful garland is not just visually appealing but also special because it’s something you and your child can create together.
Step 1: Setting Up Your Space
Find a clean space to work. Cover it with your plastic table cover or newspapers—this is where the magic happens, and we want to keep things tidy.
Step 2: Preparing the Baby Wipes
Take a couple of baby wipes and lay them flat. With your child, discuss different patterns you can create. If your toddler is a bit older, encourage them to come up with their own designs.
Step 3: Decorating with Markers
Here’s where the fun really begins! Let your little one use the fabric markers to color the wipes. You can swirl colors together or make distinct patterns. You might want to join in the fun by adding your own flair!
Step 4: Shaping the Wipes
Once the wipes are colored, use rubber bands to secure them in different sections. This inhibits some colors from bleeding into each other and creates those beautiful tie-dye effects when they’re sprayed with water.
Step 5: Spritzing for the Effect
Fill the spray bottles with water and give those prepared wipes a light spritz. You’ll see the colors deepening and blending beautifully.
Step 6: Drying and Decorating
Now, hang your colorful creations out to dry. You can utilize string or clothespins to creatively display them. Once dry, cut them into triangles or other shapes to create your bunting. Simply string them together using more string or tape!
Bonus: Display your Creation
Hang your bunting in your child’s room or play area. It’s so rewarding to see something you’ve created together come to life. Each glance at it will remind you of your creative afternoon spent together.
Quick Tips for Success
- Use Color Sparingly: Less is often more. If you load the wipes with too many colors, you might end up with a muddy result.
- Embrace the Mess: Kids can be messy, and that’s part of the fun! Just relax and enjoy the process.
- Involve Your Child: Talk to them and let them guide some of the decisions in the design. It makes the project that much more meaningful.
Mistakes to Avoid
- Don’t oversaturate the wipes with water. Just a light spritz is enough. Too much water can lead to colors running together uncontrollably.
- Be mindful of the markers. Always choose washable options to avoid permanent stains.
Exploring Further Creations
Now, if your little artist enjoyed this project, why stop at just bunting? We can explore endless opportunities for tie dye creativity together! Here are a couple of ideas to expand on:
- Tote Bags: Experiment with the same technique on fabric tote bags, perfect for your next trip to the grocery store.
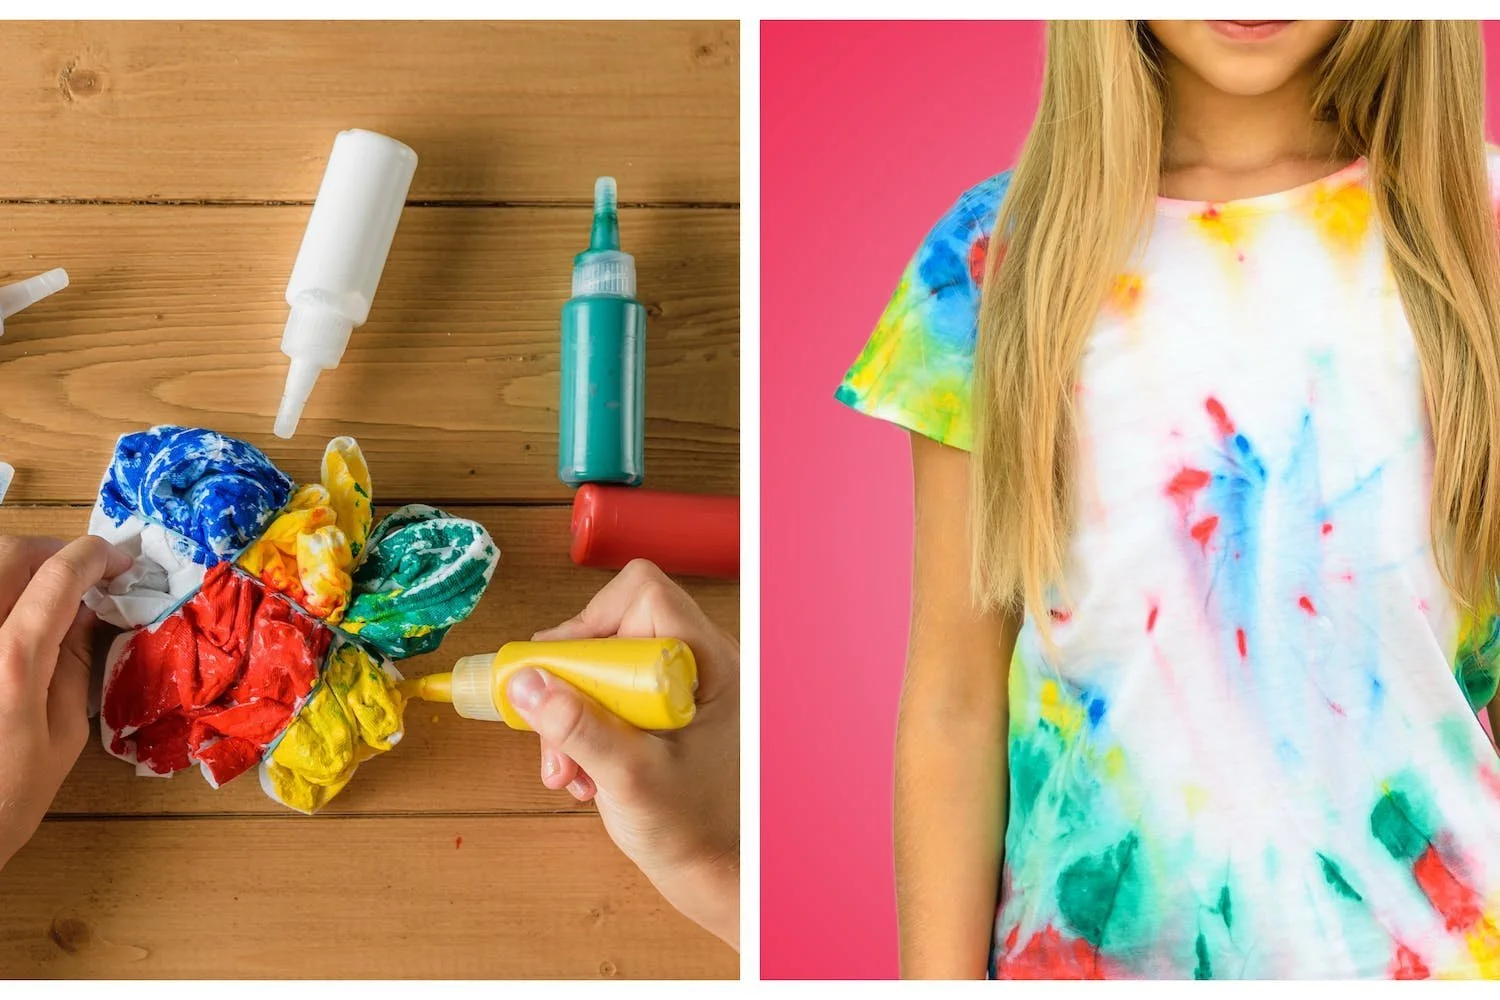
- Joyful T-shirts: Make personalized shirts to wear! You can even convert old plain white shirts into stunning tie-dye masterpieces. If you need a guide for this, check out this helpful resource on how to tie dye an old white shirt.
If you’re looking for even more fun activities that stimulate creativity, head over to our article on easy home activities for inspiration!
Conclusion
Creating simple tie-dye projects with baby wipes is more than just a craft; it’s a chance to bond, nurture creativity, and make memories with your little ones. These colorful creations don’t just brighten up a room—they brighten our hearts. Next time you’re faced with a gloomy day indoors, remember that creativity is just around the corner. With just a few materials, a sprinkle of patience, and a splash of fun, you can inspire your child’s imagination and create something beautiful together.
And hey, don’t hesitate to branch out and try more art ideas too! If you’re interested, check out more fun artistic endeavors like painting ideas for kids through this wonderful article on Painting Ideas for Kids. Happy crafting!
